It wasn't until the sopring of 2003 that I set my mind to the question of how a non-artistic person could make a layout look good. I'm pleased to say I'm pretty well satisfied with the result. It's not professionsl, by any means, but it's pretty good.
Then, after I was almost done, a friend I met on eBay sent me a video on the Woodland Scenics products. I sure wish I had gotten that sooner! It would have saved me a lot of time, and might have looked more professional. If you're planning to landscape your layout, I recommend that you get at least one of their videos and/or books first! And they have a couple of short how-to movies online under "Information"
Here are some of the elements of how I did my landscaping.
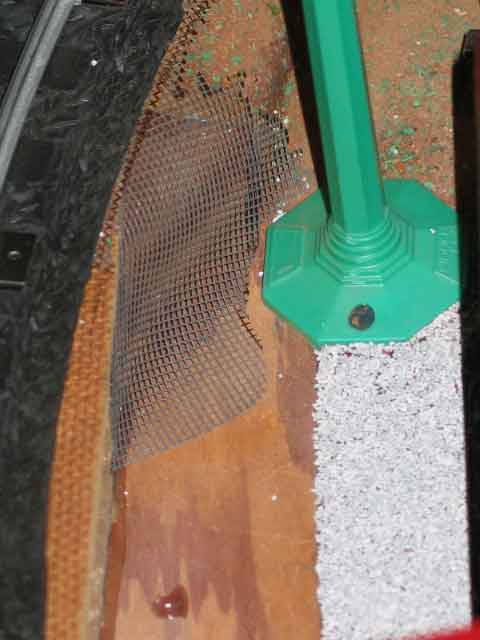
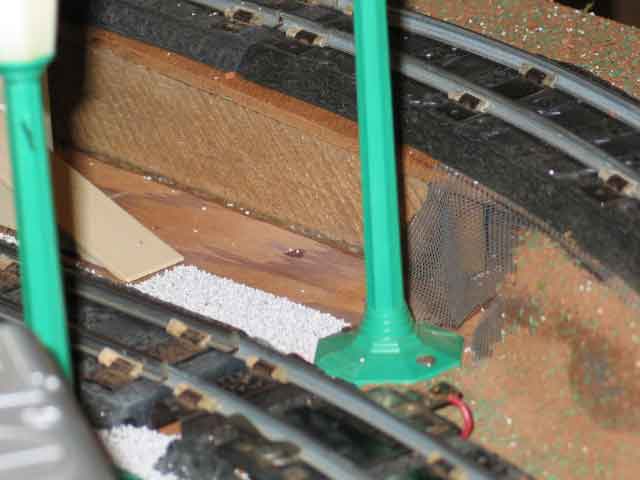
The soil is the decomposed sandstone found in our neighborhood, mixed with Gilbert's #21A imitation grass and glued in place with Elmer's. On the larger canyon slopes, I plastered the screening before glueing the dirt and grass.
The gravel is Woodland Scenics medium ballast that I bought at Frank the Trainman in San Diego..
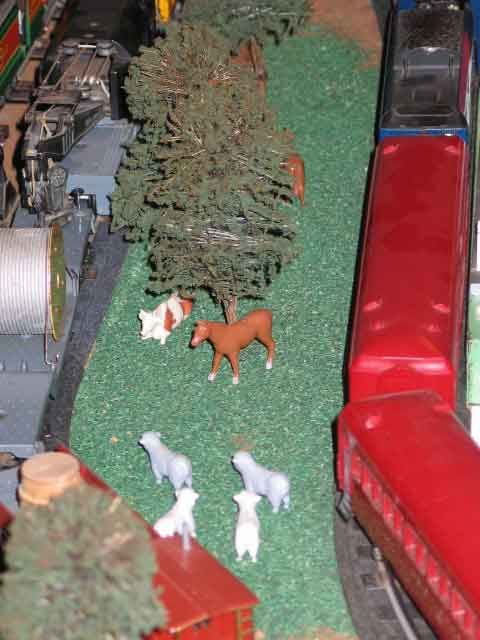
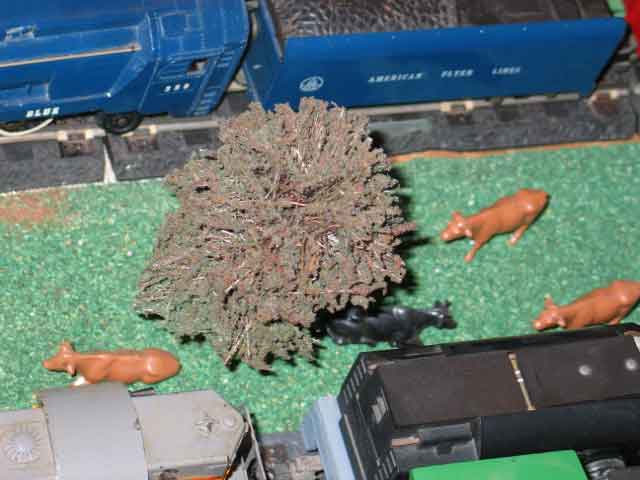
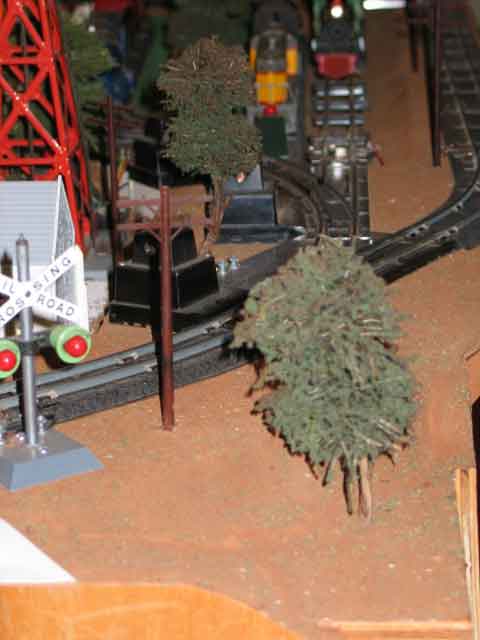
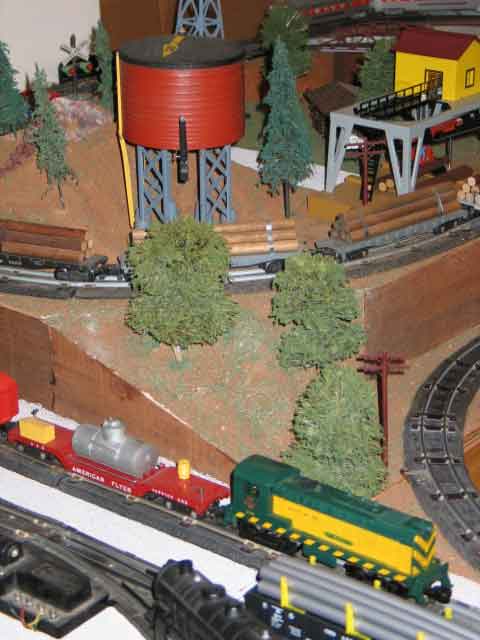
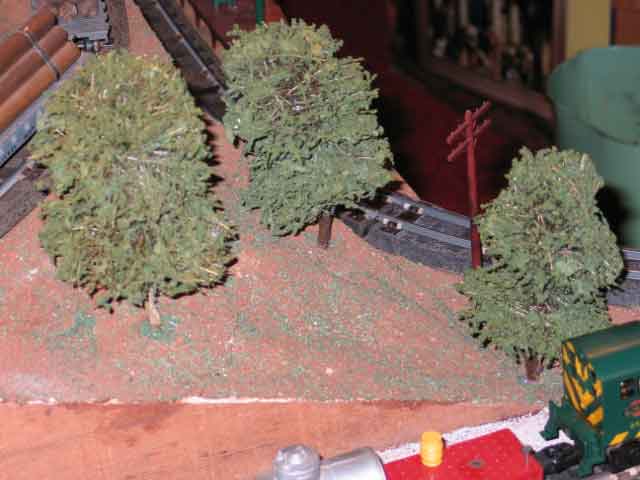
All the trees on the layout are from Architrees. He does a terrific job! I might be able to make my own cheaper, but they wouldn't look anywhere near as good as his.
As he suggested, I drilled a hole in the plywood, inserted the tree trunk, and secured it with a hot glue gun that cost me just a couple of bucks at Home Depot.
I got the farm animals in that big collection I bought in the 1070s, along with the Plasticville Barn.
I suspect they are from Plasticville, but I don't know for sure.
More oak trees from Architrees.
I bought the power poles from an eBay friend named Miles who had some extras. I cut the round plastic bases off them and mounted them like the trees. Since the poles are O-guage, cutting off the bases also made them the correct scale height for S-guage.
I haven't wired them yet. Miles suggested using EZ Line stretch wire sold by
Berkshire Junction, but my daughter-in-law gave me a spool of "Stretchy Illusion Cord" made by Westrim Crafts that may be the same material.
I used to nicer side of some old scrap lumber to simulte the wood beam walls around so many railroads in the Old West.
Trains Engines Operating Accessories Bridges Towers Buildings
Crossings Construction Landscaping Lighting Semaphores Control Panel
Wish List History Useful Links

